In this tutorial I will show you several simple ways of creating ISO images with Ubuntu, from doing it
with graphical applications included in the repositories or by using just the command-line. Each method
below will get the work done, and you can start burning your images to a CD or DVD in no time. Applications
included cover the default one which comes with Ubuntu (
Brasero), but also
K3b for Kubuntu or
Xfburn
for Xubuntu. I didn't forget
AcetoneISO or
GnomeBaker either, both good applications in what they do.
Each of them will get your work done in no time, however most of the Ubuntu and GNOME users
will probably find most convenient the first method, since Brasero is the default burning application
included in Ubuntu which also allows you to build ISO files. I included basic installation details
for newcomers for each of these applications.
Table of contents
Making ISO Images With Brasero (Ubuntu's Default)
Making ISO Images With K3b (Kubuntu)
Using Xfburn to Create ISO Images (Xfce)
Making ISO Images With GnomeBaker
Creating ISO Images With AcetoneISO
Making ISO Images from Command-Line
I took all of the following screenshots using the latest Ubuntu release at the time of writing (Ubuntu 11.04 Natty Narwhal).
Making ISO Images With Brasero (Ubuntu's Default)
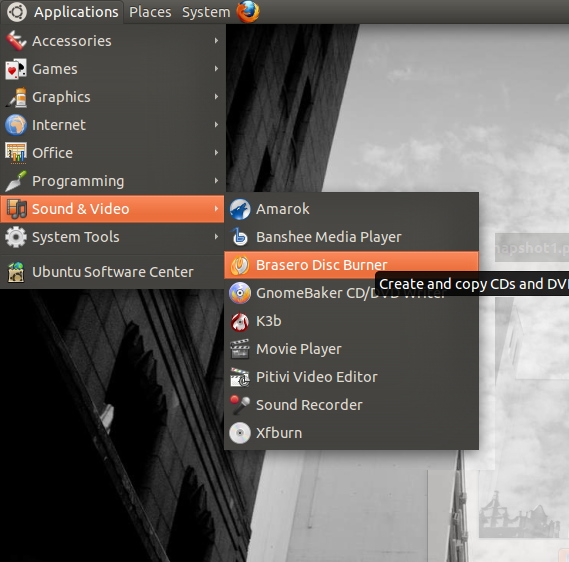
This is a pretty straightforward method. Just open Brasero by going to Applications->Sound&Video->Brasero Disc Burner
(or press Alt+F2 and type brasero followed by Enter in the run box that appears).
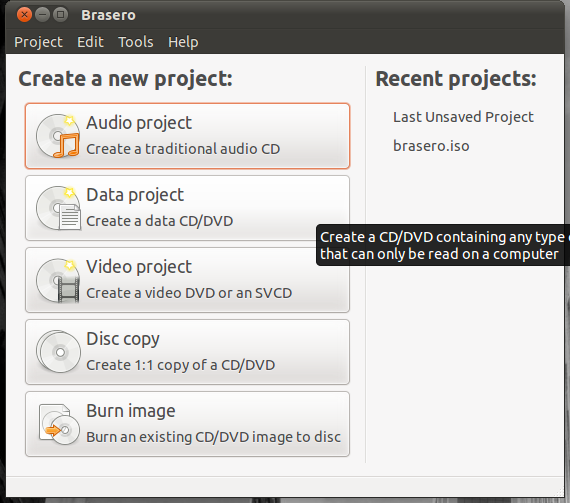
Click on the Data Project button to the left:
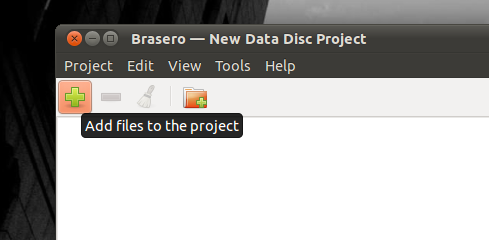
Next go to Edit->Add Files or click on the green plus sign in the toolbar:
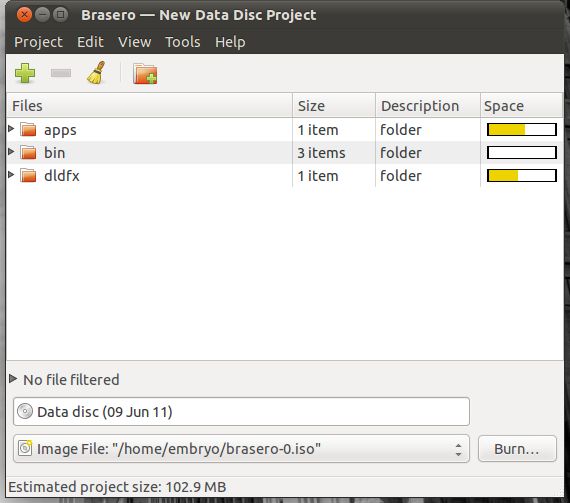
Select the files and folders that you want to include in your ISO image. To select more than one, hold down Ctrl and click on the desired files or folders. After you're done, click on the Add button. At this point you should make sure there is no blank CD/DVD inside your optical drive, so Brasero won't automatically burn those files to CD. Next, click the Burn button.
Now Brasero will automatically create an ISO file, called by default brasero.iso, which you can find inside your home directory. If you already have a blank CD or DVD inserted in the drive, then the following window will pop up:
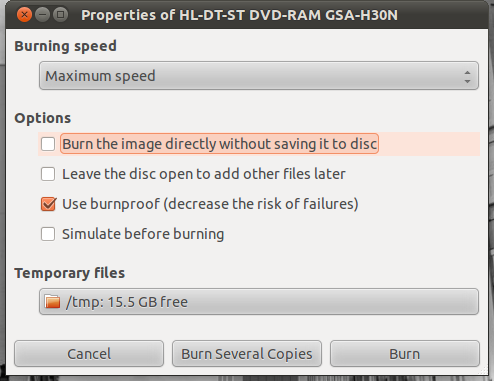
Even if you untick the Burn the image directly without saving it to disc option, Brasero will create the ISO image, but it will also burn it to disc, so if you don't want it done, just have no blank CD or DVD inserted in the drive.
This should be all.
Click on the Data Project button to the left:
Next go to Edit->Add Files or click on the green plus sign in the toolbar:
Select the files and folders that you want to include in your ISO image. To select more than one, hold down Ctrl and click on the desired files or folders. After you're done, click on the Add button. At this point you should make sure there is no blank CD/DVD inside your optical drive, so Brasero won't automatically burn those files to CD. Next, click the Burn button.
Now Brasero will automatically create an ISO file, called by default brasero.iso, which you can find inside your home directory. If you already have a blank CD or DVD inserted in the drive, then the following window will pop up:
Even if you untick the Burn the image directly without saving it to disc option, Brasero will create the ISO image, but it will also burn it to disc, so if you don't want it done, just have no blank CD or DVD inserted in the drive.
This should be all.
Making ISO Images With K3b (Kubuntu)
K3b is a feature-complete burner for KDE, and so it blends well in Kubuntu. To install it if it's not already
installed, open a terminal and type:
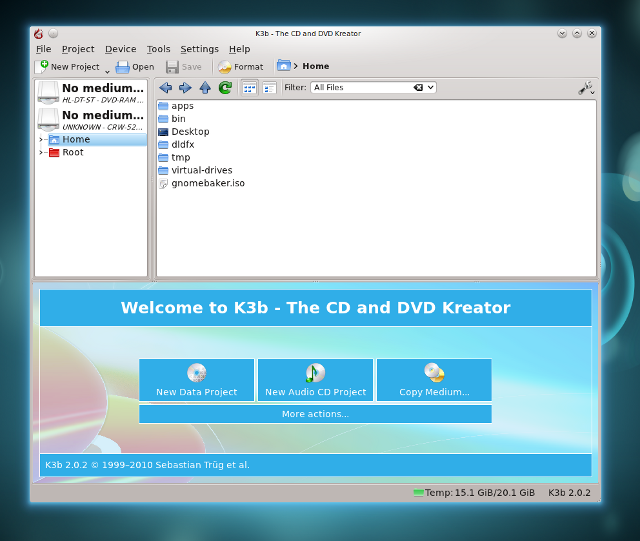
To create an ISO image quickly and easily with K3b, fire it up and click on the New Data Project button:
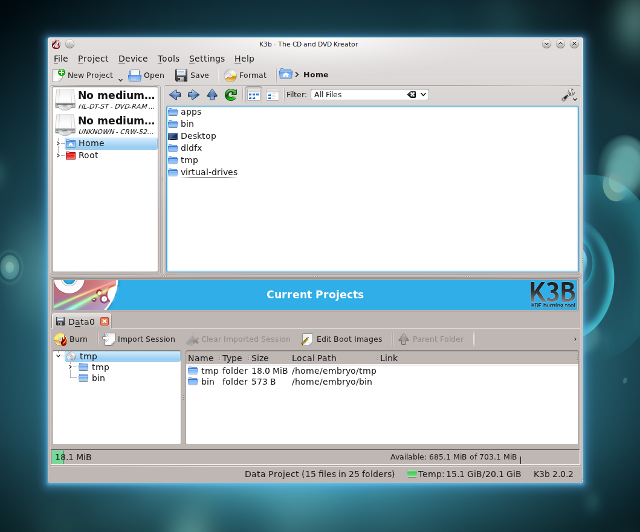
Now add files to be included in the image by dragging and dropping them from the file browser and when you're done click the Burn button:
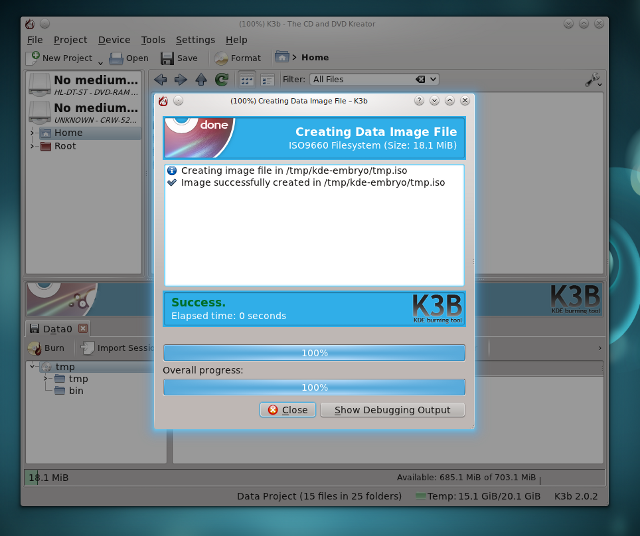
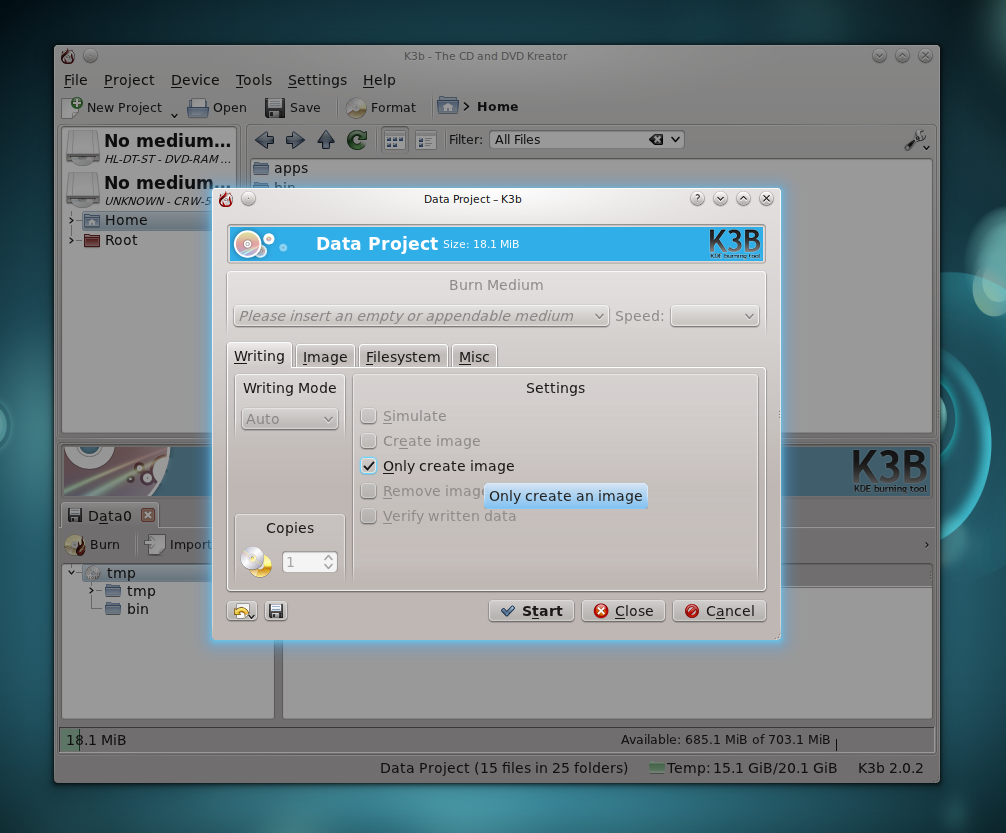
In the window that appears, tick the Only create image checkbox and hit the Start button:
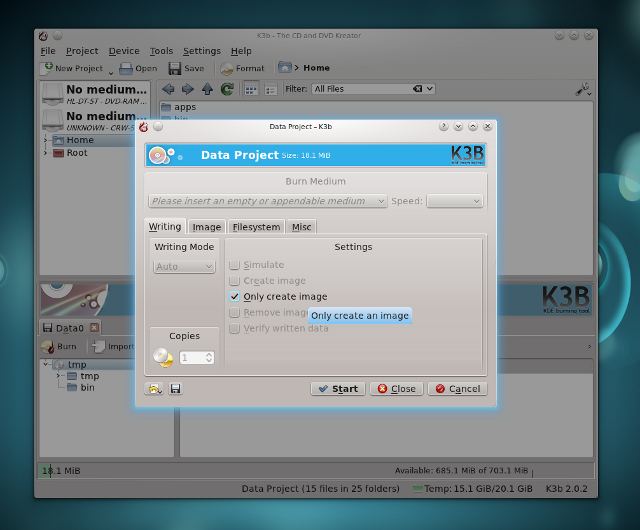
This is it, the image will be located inside the /tmp/kde-USERNAME/ directory.
sudo apt-get install k3b

Now add files to be included in the image by dragging and dropping them from the file browser and when you're done click the Burn button:

In the window that appears, tick the Only create image checkbox and hit the Start button:
This is it, the image will be located inside the /tmp/kde-USERNAME/ directory.

Using Xfburn to Create ISO Images (Xfce)
Xfburn is the default burning application in the Xfce desktop environment, also providing the option of creating
ISO images. To install it in Ubuntu, open the terminal and type:
Alternately, you can search for it and install it graphically via the Ubuntu Software Center (go to the
Applications->Ubuntu Software Center menu entry).
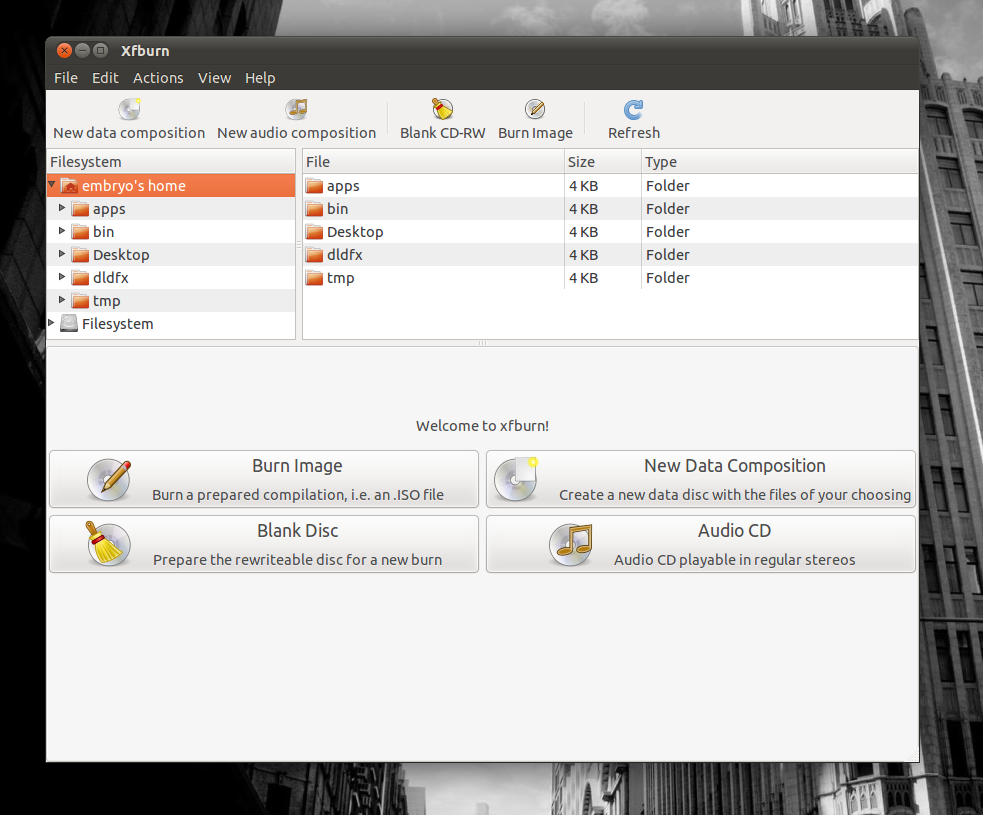
After starting it, click on the New Data Composition button:

Next, click the Add button to start adding files or folders to your image, or just drag them from the file browser:
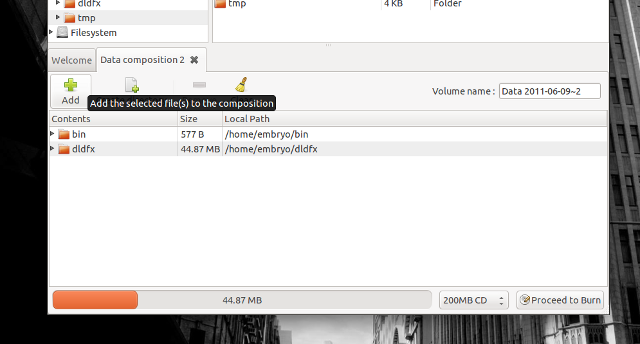
Now click the Proceed to Burn button at the bottom right, and in the window that appears make sure to tick the Only create ISO checkbox:
>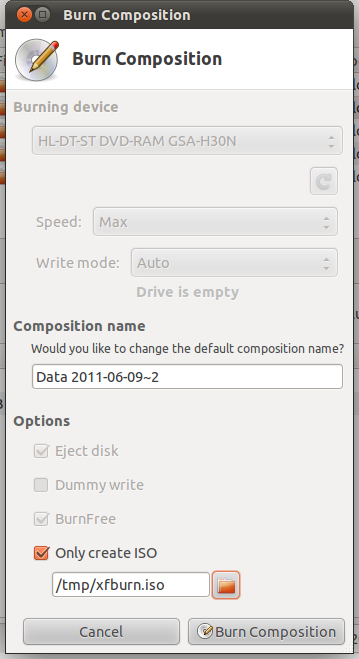
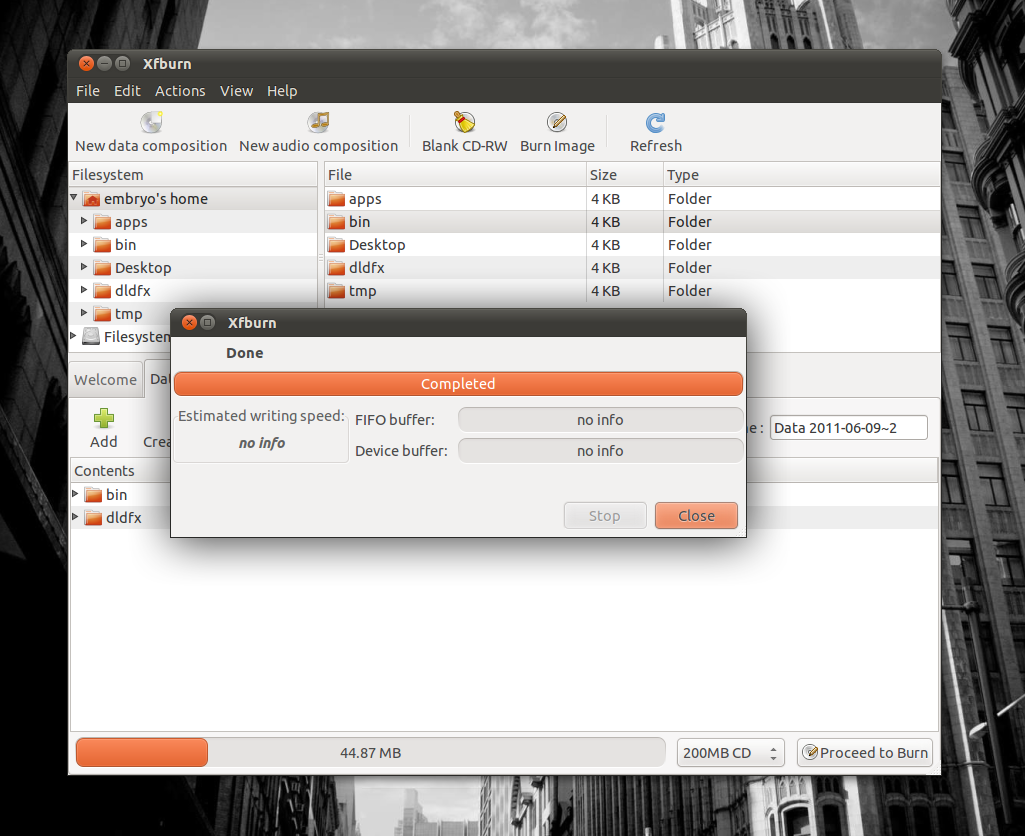
Now click on the Burn Composition button and wait for your image to be created. By default the image is saved inside the /tmp directory, but you can set a location of your own choice.

sudo apt-get install xfburn
After starting it, click on the New Data Composition button:
Next, click the Add button to start adding files or folders to your image, or just drag them from the file browser:

Now click the Proceed to Burn button at the bottom right, and in the window that appears make sure to tick the Only create ISO checkbox:
>
Now click on the Burn Composition button and wait for your image to be created. By default the image is saved inside the /tmp directory, but you can set a location of your own choice.
Making ISO Images With GnomeBaker
GnomeBaker is another powerful CD/DVD burning application for GNOME with an interface similar to the one of Xfburn. To install
it in Ubuntu, open a terminal and type:
Type in your password (it doesn't matter that you don't see what you type, it is just a security measure). Fire up
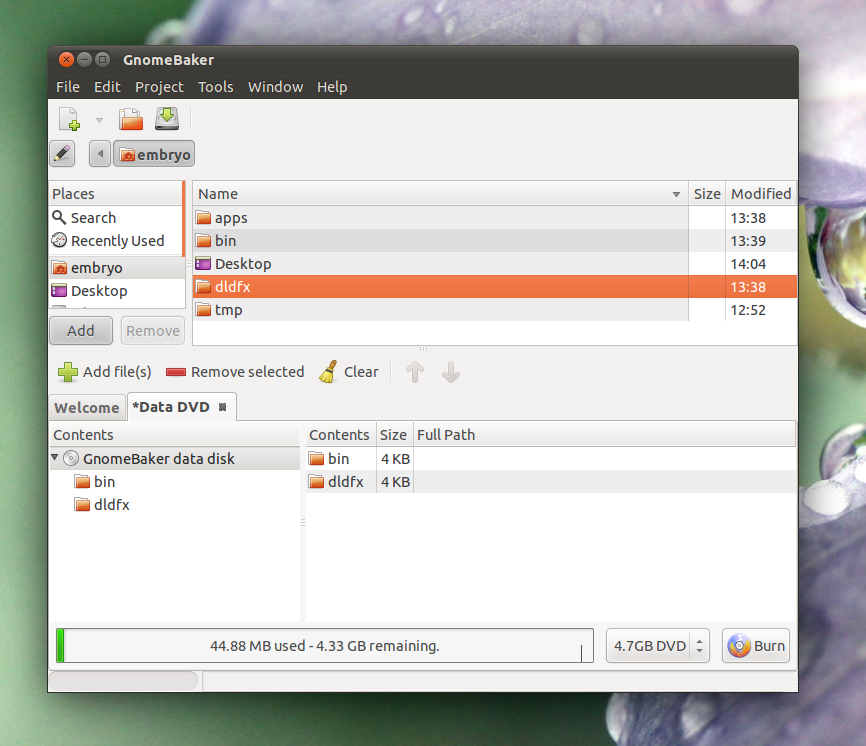
GnomeBaker and click on the Data DVD button:
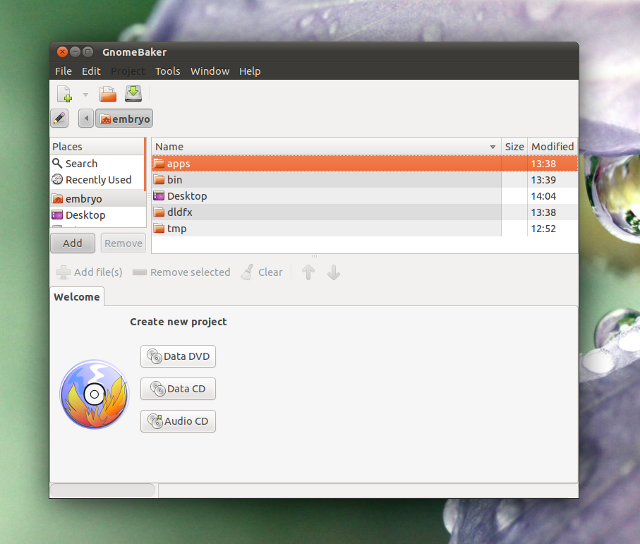
Now drag and drop the desired files and folders from the file browser into the Data DVD tab:

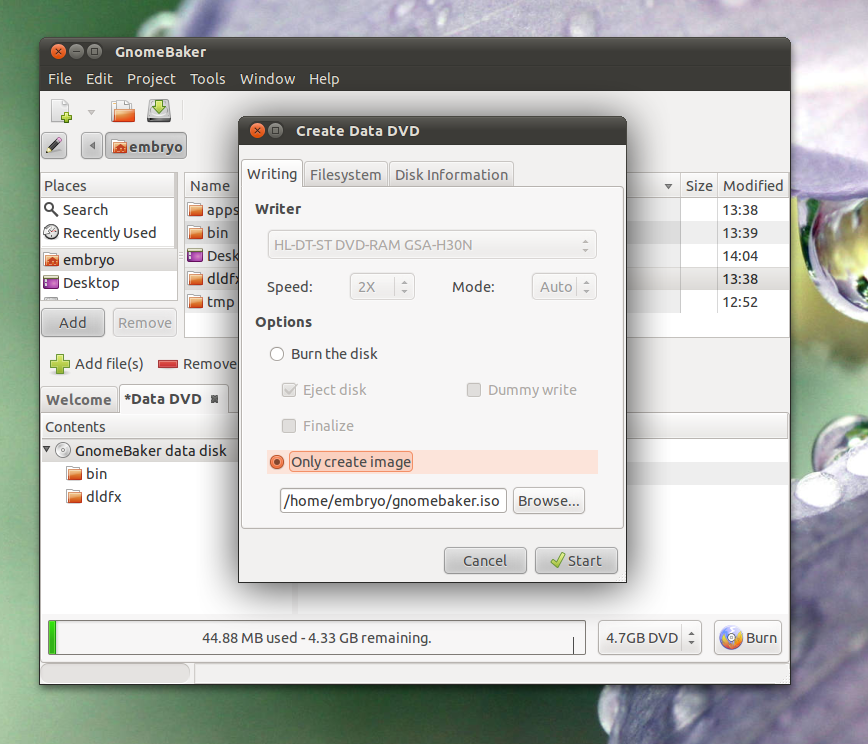
Next, click on burn. A new window will appear, and here you have to check the Only create image option:

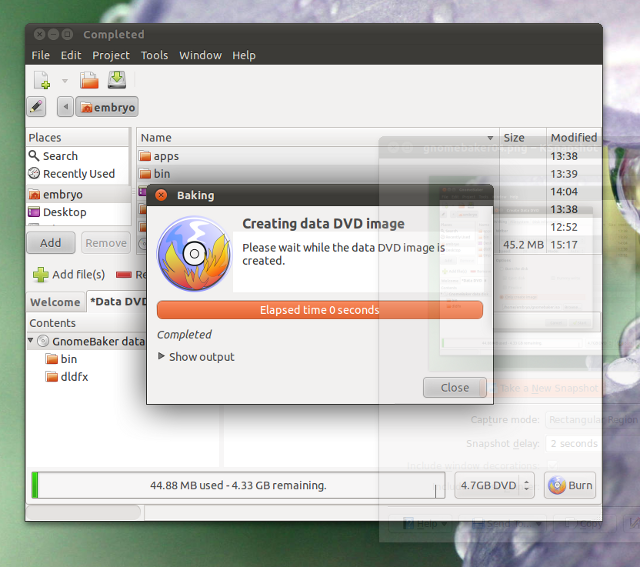
Now we're good to go, click the Start button and wait for the image to be generated.
sudo apt-get install gnomebaker

Now drag and drop the desired files and folders from the file browser into the Data DVD tab:
Next, click on burn. A new window will appear, and here you have to check the Only create image option:
Now we're good to go, click the Start button and wait for the image to be generated.

Creating ISO Images With AcetoneISO
Yet another way of making ISO images using a GUI application is with AcetoneISO, which allows you to do it extremely quick
and painless. To install AcetoneISO, open a terminal and type:
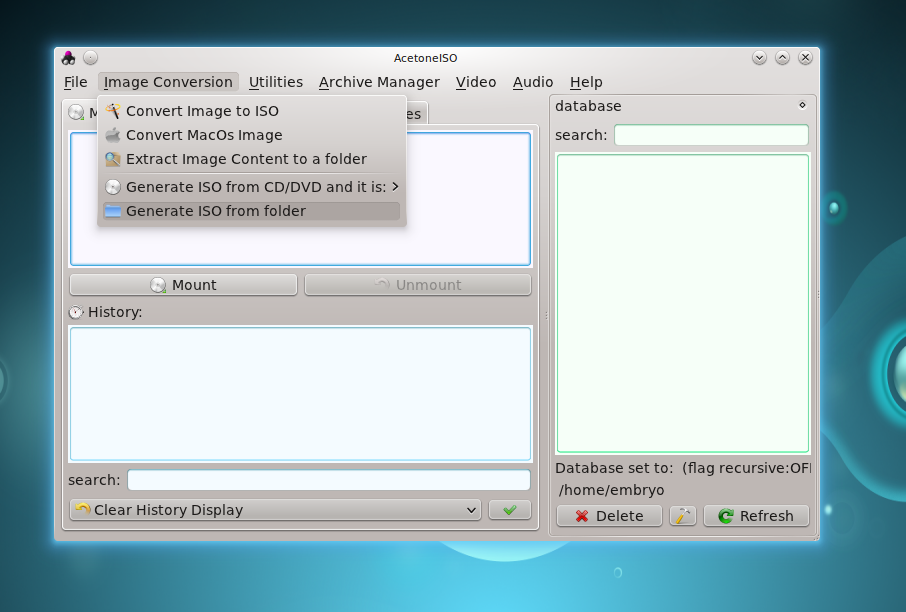
Next open up AcetoneISO, and go to the Image Conversion->Generate ISO from folder menu entry:
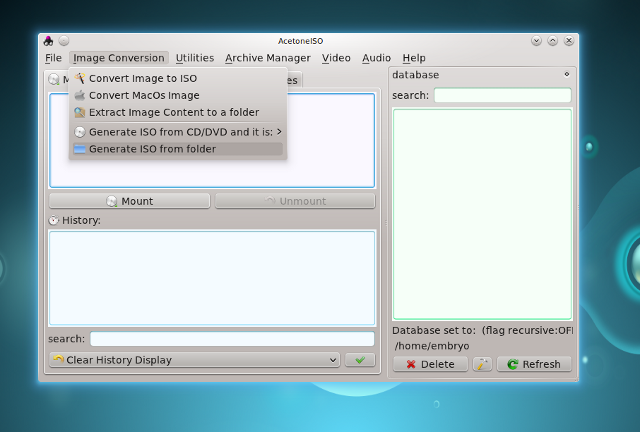
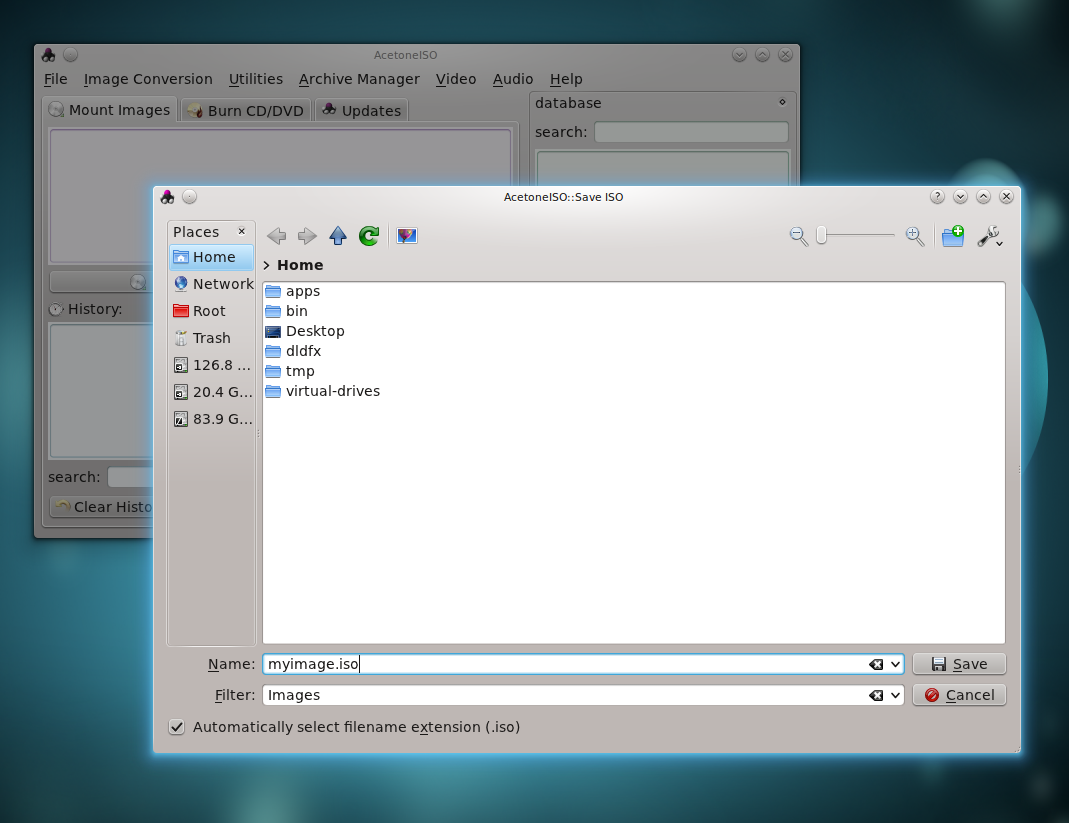
Next, select the files which you want to add to the image and click Open, then give a name for your image file:

That's all there is to it.
sudo apt-get install acetoneiso
Next, select the files which you want to add to the image and click Open, then give a name for your image file:
That's all there is to it.
Making ISO Images from Command-Line
Making ISO images using the command-line interface is fairly easy and straightforward. For this we will need the package
genisoimage, which is probably already installed. If not, open a terminal and type:
Here's how it works. To create an image from a selection of files and folders, type in a terminal:
This will create an ISO image containing the files file1 and file2 and the directories dir1 and dir2.
Although genisoimage is a very powerful tool and comes with a pretty fair amount of command-line options, I won't get into details. Here are some of the basic parameters:
This command will create an ISO file called output_file.iso with the title My ISO.
To enable RockRidge extensions, used for ownership support, use the -R switch:
Have suggestions or corrections to this tutorial? Please discuss it on
our forum!
Updated: Jun 09, 2011 | v1.0
sudo apt-get install genisoimage
genisoimage -o output_file.iso file1 file2 dir1 dir2
Although genisoimage is a very powerful tool and comes with a pretty fair amount of command-line options, I won't get into details. Here are some of the basic parameters:
genisoimage -o output_file.iso -V "My ISO" file1 file2
embryo@kubu:~/dldfx$ genisoimage -o output_file.iso -V "My ISO" ac.tar.bz2 dir1
I: -input-charset not specified, using utf-8 (detected in locale settings)
 21.60% done, estimate finish Thu Jun  9 16:24:24 2011
 43.23% done, estimate finish Thu Jun  9 16:24:24 2011
 64.80% done, estimate finish Thu Jun  9 16:24:24 2011
 86.43% done, estimate finish Thu Jun  9 16:24:24 2011
Total translation table size: 0
Total rockridge attributes bytes: 0
Total directory bytes: 0
Path table size(bytes): 10
Max brk space used 0
23149 extents written (45 MB)
embryo@kubu:~/dldfx$ file output_file.iso
output_file.iso: # ISO 9660 CD-ROM filesystem data 'My ISO
genisoimage -o output_file.iso -R input_file1 input_file2
Updated: Jun 09, 2011 | v1.0